
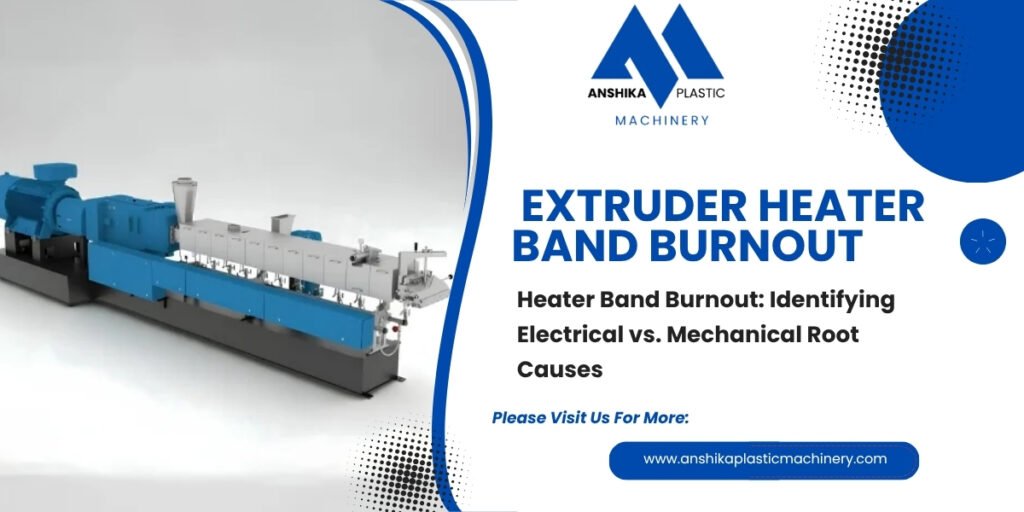
Precise thermal management is the backbone of successful polymer compounding and extrusion. When barrel temperatures fluctuate or drop, product quality instantly collapses. For many plant maintenance teams, replacing burnt-out heater bands is a routine, albeit frustrating, chore.
However, when heater bands fail repeatedly in the exact same zone, treating it as a simple electrical glitch is a costly mistake. Often, rapid heater band burnout is a symptom of hidden mechanical friction, internal binding, or severe heat buildup originating inside the barrel.
1. Electrical Root Causes of Heater Band Failure
Before tearing down mechanical assemblies, check for standard electrical and installation faults that shorten heater band lifespan:
Loose Terminal Connections: If electrical lead wires or clamping bolts are not torqued down correctly, high electrical resistance builds up at the connection point, generating localized micro-arcs that melt terminals and burn out the heating element.
Poor Surface Contact: Ceramic or mica band heaters must fit snugly against the outer diameter of the segment barrel. If the band is loose or installed over residual polymer residue, heat cannot transfer away from the coils fast enough, causing the internal resistance wire to overheat and snap.
Voltage Spikes: Unstable plant power supply or failing solid-state relays (SSRs) can send uncontrolled power surges straight to the heating zones, over-cycling the elements until failure.
2. Mechanical Root Causes: When Friction Generates Excess Heat
If electrical connections are secure and bands still burn out prematurely, the root cause is usually mechanical.
Internal Frictional Shear: If worn or misaligned screw elements create localized friction against the inner barrel wall, heat is generated from the inside out. The barrel steel absorbs this intense internal shear heat on top of the external heater band output, pushing the metal past its maximum thermal threshold.
Material Stagnation: Trapped polymer pockets or dead zones inside the modular channel trap heat locally, forcing external heater bands to work overtime or overheat adjacent zones.
To ensure your machine maintains proper thermal and mechanical balance, equip your compounding line with precision-engineered Twin Extruder Components designed to minimize internal friction and wear.
3. Diagnostic Checklist for Maintenance Engineers
When investigating a burnt-out heater band, use this step-by-step diagnostic workflow:
Inspect the Inner Surface: Look at the inside of the failed band. If it is warped, discolored, or covered in baked-on carbon, poor surface contact or internal overheating was the culprit.
Check Amperage Draw: Measure the operating current of the heater zone using a clamp meter to verify it matches specifications and isn’t drawing continuous power due to a stuck relay.
Audit Thermocouple Calibration: Ensure your barrel thermocouples are seated correctly and reading accurate temperatures. A misaligned thermocouple can trick the PID controller into driving a heater band continuously until it melts down.
Perform a Mechanical Inspection: If heater failures persist alongside high drive torque, pull the internal screws to check for localized rubbing against the segment barrel walls.
4. Best Practices for Maximizing Heater Band Lifespan
Use Thermal Paste: Apply recommended high-temperature heat transfer compound between the barrel surface and the band heater during installation to eliminate air gaps.
Retorque After Heat Cycles: Once a newly installed heater band goes through its first complete heat-up and cool-down cycle, shut down the machine and retorque the clamping bolts to compensate for thermal expansion.
For durable, high-performance machinery parts designed to operate reliably under strict thermal tolerances, explore our complete catalog of Screw Elements.