
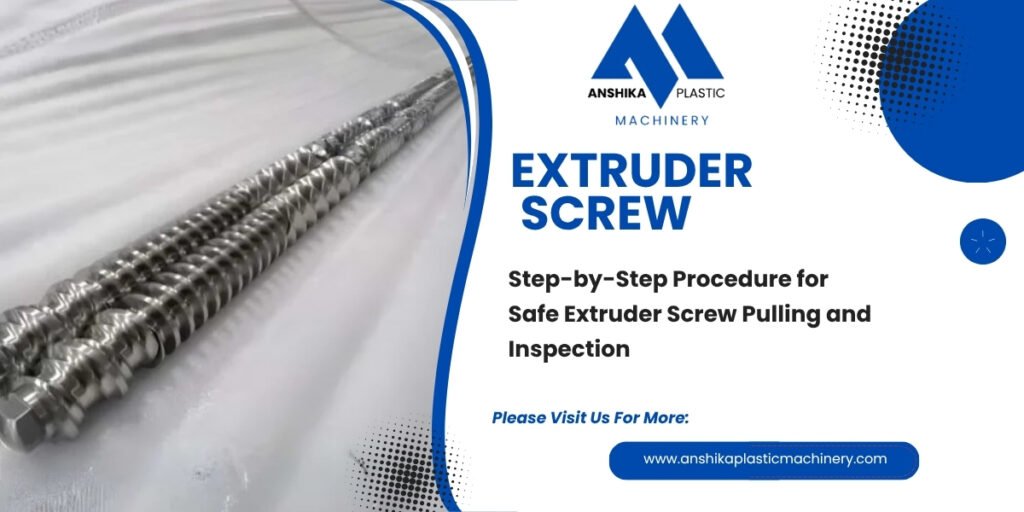
On the plant floor, pulling the screws out of a twin-screw extruder is often treated as a last-resort emergency task rather than a scheduled preventive practice. However, failing to regularly extract and inspect your internal components can hide dangerous wear patterns, localized metal fatigue, and carbon buildup.
Executing a safe and controlled screw pull protects expensive assemblies, ensures uniform product quality, and extends the overall operational life of your line.
Phase 1: Preparation and Safety Protocols
Before touching a single bolt, you must establish a safe workspace and prepare the machine for extraction.
Complete Thermal Shutdown and Lockout: Ensure the drive motor is completely locked out (LOTO) and the heating zones have cooled down to a safe handling temperature. Attempting to pull screws while the barrel is hot risks seizing the metal components.
Disconnect the Die and Adapter: Remove the die head and adapter flange completely to clear the exit path for the screw tips.
Clear the Feed Throat: Purge or vacuum all residual polymer granules from the feed hopper and housing to prevent loose debris from falling into open barrel ports.
Phase 2: Uncoupling the Drive and Disengaging Alignment
The interface between your drive gearbox and the internal drive shafts requires careful handling to avoid damaging high-precision splines.
Separate the Shaft Coupling: Carefully unbolt and slide back the coupling mechanism connecting the gearbox output to the main spline shaft assemblies.
Support the Screw Tips: As the screws begin to emerge from the barrel housing, they will lose structural support and begin to sag under their own heavy weight. Set up adjustable roller stands or a specialized cantilever guide rail to support the weight evenly as they slide out.
Phase 3: Pulling the Co-Rotating Screws
With the drive uncoupled and support stands in place, you are ready to begin the extraction process.
Use Specialized Extractor Tools: Attach the manufacturer-approved pulling jig or hydraulic extraction collar securely to the shaft ends.
Maintain Absolute Parallelism: Both screws must be pulled simultaneously and perfectly parallel to each other. Because co-rotating screw elements and kneading blocks intermesh with extremely tight clearances, any angular skewing can cause the flight tips to crash into each other, scratching or chipping the metal.
Inspect as They Clear the Barrel: As each modular section exits the segment barrel, wipe away residual polymer film to expose the underlying metal surface for immediate visual assessment.
To keep your operations running smoothly when extraction reveals cracked flights or unrecoverable degradation, explore our catalog of precision-engineered Screw Elements designed for seamless modular replacement.
Phase 4: Detailed Component Inspection and Cleaning
Once the screws are completely removed, place them on a soft, clean wooden workbench for evaluation.
Check Flight Thickness: Measure the outer diameter of the flights against original factory specifications using a digital micrometer.
Inspect Kneading Zones: Look closely at the apex and pushing faces of your kneading elements for pitting, micro-cracking, or adhesive wear caused by abrasive fillers.
Examine the Splines: Check the spline coupling zones for fretting corrosion or rotational play that indicates torque fatigue.
For lines requiring enhanced durability and wear resistance, upgrade your worn assemblies with our robust Twin Extruder Components built for demanding industrial environments.
Maintenance Best Practices
Never Use Open Flames: Never use a torch or direct flame to burn residual polymer off individual screw segments, as extreme localized heat destroys the temper of the tool steel. Use a controlled cleaning furnace or chemical solvent bath instead.
Document Wear Patterns: Keep a maintenance log of wear measurements taken during every pull to predict exactly when your conveying elements will require replacement before they compromise output quality.